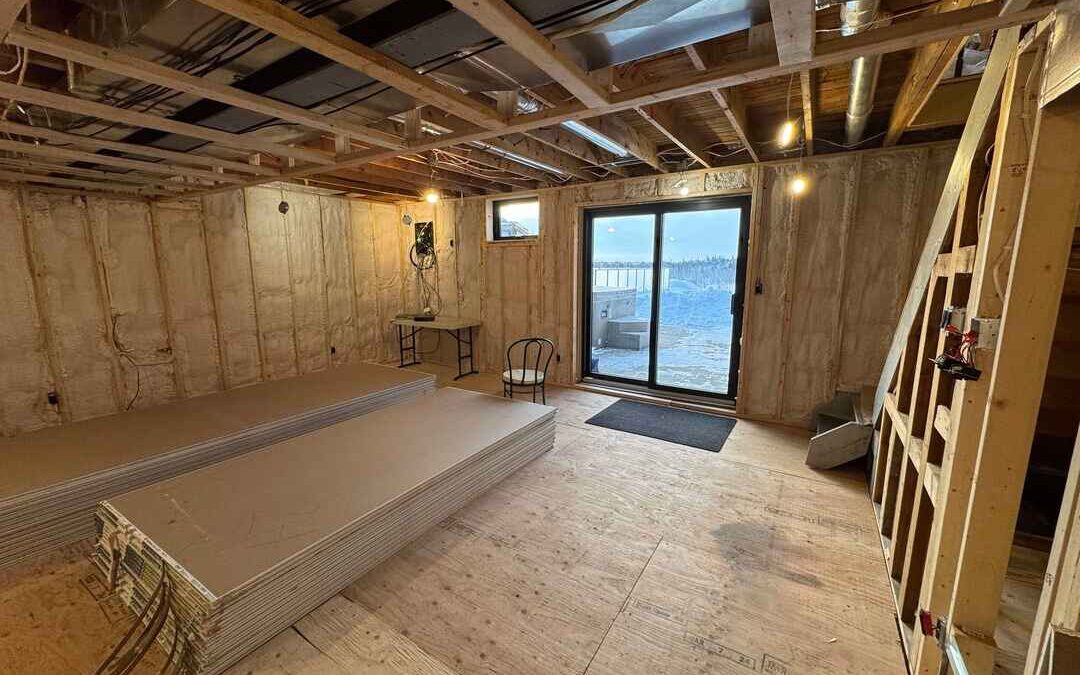
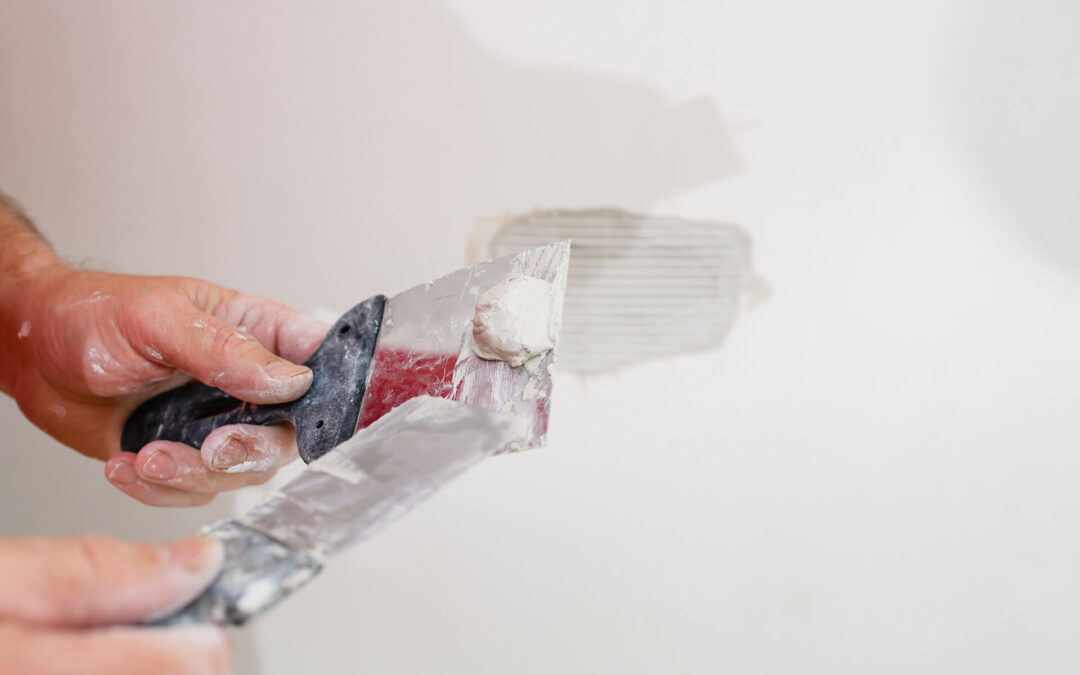
Drywall sanding helps create a smooth, even surface after taping and mudding. This step removes rough patches, softens seams, and prepares the wall for paint or texture. Without proper sanding, bumps and ridges can stand out once the wall is painted, especially under bright light.
Sanding begins only after the joint compound has fully dried. Rushing this process can damage the surface or leave streaks behind. A well-sanded wall makes a big difference in how clean and professional the final result looks. Care and patience during this stage help bring out the best in any drywall project.
Essential Tools & Materials
Sanding drywall requires a few basic tools that help you get smooth, consistent results while keeping dust under control. Using the right equipment makes the job easier and helps avoid common issues like uneven surfaces or exposed tape.
Here are the essentials:
- Sanding sponge or pole sander: Sponges work well for small areas or touch-ups. A pole sander helps reach higher spots and cover large walls.
- Sandpaper (100–220 grit): Start with a coarser grit like 100 or 120 for the first pass, then move to finer grits like 150 or 220 to finish.
- Dust mask, goggles: Sanding creates a lot of fine dust. A proper dust mask and safety goggles protect your lungs and eyes during the process.
- Vacuum or dust extractor: Drywall dust spreads easily. A vacuum or dust extractor helps keep the area clean and prevents it from settling on furniture or floors.
Some people prefer power sanders, especially for large projects. Others stick with manual tools for better control. Here’s a simple comparison:
How to Sand Drywall: 5 Key Steps
Sanding drywall takes a little patience, but doing it the right way can make your walls look clean and smooth. Whether you’re working in a single room or handling a full home project, these five steps will guide you through the process without skipping the important details.
1. Prep the room
Drywall sanding creates fine dust that travels easily through the air. Start by removing furniture or covering it with plastic sheeting. Lay drop cloths or old sheets on the floor to catch falling dust. Seal off vents, windows, and doorways using painter’s tape and plastic so the dust doesn’t spread through your entire home. Taking time here saves hours of cleaning later.
2. Start with coarse grit
Use coarse sandpaper to knock down rough patches and dried ridges in the joint compound. A sanding sponge works for small areas, but a pole sander makes quick work of larger surfaces. Go slowly and keep even pressure as you sand. The goal is to even out the high spots without digging into the wall or damaging the paper surface.
3. Sand seams and feather edges
Focus on the seams where drywall sheets meet. Sand in a broad, light motion that blends the joint compound into the drywall surface. This process is called feathering. Avoid pressing too hard. Let the sandpaper do the work while your hand guides the direction. Light movements help prevent scratches or gouges. Keep a light nearby or position yourself to catch the shadows. It’s easier to spot raised areas this way.
4. Switch to finer grit
Once the surface feels mostly smooth, it’s time to switch to finer sandpaper. This pass helps soften everything and leaves the wall ready for paint or primer. Use long, steady strokes and keep your sander moving. Avoid focusing on one spot too long. Uneven pressure can lead to dips that show through once paint is applied. This stage is all about refining, not reshaping.
5. Wipe down and inspect
After sanding, grab a clean, dry cloth or a soft brush and gently wipe off the dust. A vacuum with a brush attachment works well too. Shine a light across the surface and look closely. Check for missed spots, scratch marks, or uneven patches. Some areas might need a second pass. Take your time here. A few extra minutes of checking now can save you from redoing it later.
Sanding might not be the most exciting part of drywall work, but it’s one of the steps that helps everything look polished in the end.
Do you need professional help with residential drywall installation or commercial drywall installation? Hire Grey County Drywall Contractor – your local drywall expert!
Dry vs. Wet Sanding
Sanding drywall can be done using two main methods: dry sanding and wet sanding. Each one has its benefits, depending on the size of the job and the working conditions. Choosing the right method helps you work more comfortably and get better results.
Dry sanding is the most common method. It uses sandpaper or sanding sponges to smooth joint compound once it’s fully dry. This approach works well for covering large wall surfaces and ceilings. It’s fast, effective, and great for getting sharp, clean results. However, it creates a lot of dust, which can be a challenge without proper protection and cleanup tools. Using a pole sander and vacuum combo can help reduce the mess.
Wet sanding uses a damp sponge instead of dry sandpaper. This method is much gentler and produces very little dust, which makes it a good choice when working in finished homes or smaller spaces. It works best on small patches, corners, or when touch-ups are needed. Keep in mind that wet sanding takes longer and may not give the same level of smoothness on larger areas.
Here’s a quick comparison:
Both methods can be useful depending on your project. Some drywall finishers even use both to get the cleanest result possible.
Pro Tips & Common Mistakes
Sanding drywall may seem simple, but a few professional habits can dramatically improve the quality of your finish. Attention to detail, the right technique, and proper cleanup all contribute to a smooth, paint-ready surface. While many steps in drywall work are physical, sanding requires a careful eye and a steady hand. Below are key practices every drywall finisher should follow, along with common mistakes to avoid.
Do’s
- Use natural lighting whenever possible: Strong side lighting casts shadows across the surface, making imperfections like ridges, scratches, or leftover compound much easier to see. Positioning a lamp close to the wall can also help spot problem areas during sanding.
- Always sand using light, circular motions: This approach gives you better control and helps blend seams and edges into the surrounding surface. It also reduces the risk of leaving sanding marks or grooves in the compound.
- Check your progress regularly: Running your hand lightly over the surface can reveal bumps or low spots that your eyes may miss.
Don’ts
- Avoid oversanding: Excessive pressure or repeated passes in the same area can wear down the compound and expose the tape underneath. Once exposed, tape becomes visible under paint and may even peel or bubble over time.
- Never skip dust cleanup: Drywall dust prevents paint and primer from bonding properly. It settles into corners, trim, and wall surfaces. Always wipe down the walls using a clean cloth or soft brush. A vacuum with a brush attachment works well too.
Final Prep Before Painting
Before painting, take time to prepare the surface properly. Start by wiping down the walls using a clean, dry cloth or a vacuum with a brush attachment. This removes any remaining drywall dust that can affect how paint sticks. Once the surface is clean, apply a quality primer to seal the drywall and even out the texture. Primer also helps the paint cover more evenly and last longer. After priming, inspect the walls under bright light. Look closely for scratches, rough spots, or uneven areas. Address any flaws now, while it’s still easy to correct them before applying paint.
Do you need professional help with residential drywall installation or commercial drywall installation? Hire Grey County Drywall Contractor – your local drywall expert!
FAQs
1. What is the best way to sand drywall?
The best way to sand drywall is to work gently using the right tools and techniques. Start with coarse grit sandpaper such as 100 or 120 to knock down ridges and rough areas. Then switch to finer grits like 150 or 220 for a smooth finish. Sand in circular motions and avoid pressing too hard. Use natural light or a lamp to spot imperfections. Always wipe down the surface after sanding to remove dust.
2. What is the mistake for sanding drywall?
A common mistake is sanding too aggressively. This can wear through the compound and expose the joint tape underneath, leading to visible flaws after painting. Another mistake is skipping the cleanup step. Dust left on the wall can affect how paint or primer sticks, leading to patchy or uneven coverage. Rushing the job or using the wrong grit can also result in uneven surfaces.
3. What grit sandpaper is good for drywall?
Drywall sanding typically starts with 100 to 120 grit sandpaper for the first pass. This removes large bumps and smooths out seams. After that, finer grits such as 150 or 220 are used to polish the surface and prepare it for primer. The right grit depends on the condition of the wall and how much smoothing is needed.
4. Are you supposed to sand between coats of drywall mud?
Yes. Light sanding between coats helps smooth out tool marks and high spots before applying the next layer. It creates a flatter, cleaner surface for the final finish.